
The last step before adding the foam inside the frame is adding felt pads to the bottom of the boards to protect the surface of your table. These pads can be found at DIY stores, craft shops, and even drug stores. They are basically small felt circles with adhesive backs. As a word of advice, although four pads - one in each corner - would be enough to protect the table, I add another pair in the middle of the long sides and one in the center. I noticed on an earlier project that if you only use four pads, the weight of the board tends to draw the center down and causes the board to sag - not what we want after all of our careful work so far!

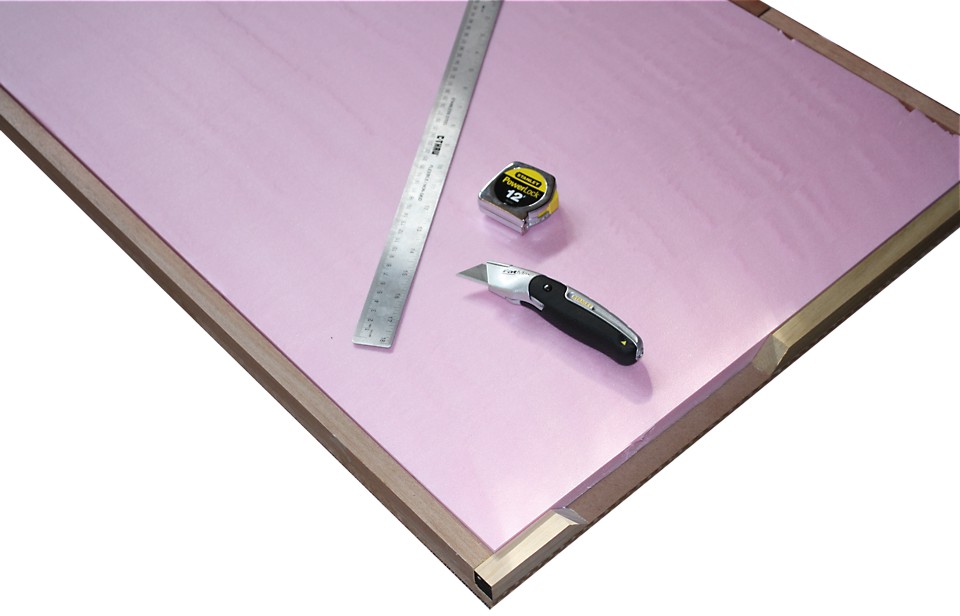
After building our frames, it's time to add the foam. I use 3/4" pink insulation foam. This stuff is sandwiched between two thin plastic films that you want to remove. It makes cutting much easier and I prefer that the glue I'm going to be using later adheres to the foam and not the plastic.

I take my time measuring and marking the foam to get a tight fit to my frames - it doesn't have to be perfect, but it will save time later.
Notice the shot above is one of two of my new river boards. I cut the battens at 45-degree angles to make the banks of my rivers with a miter saw and carefully measure them so they will line up with each other.

In a couple of days, I'll put up part three where we draw out the rivers and cut the foam to make the beds. I've already got the shots, but I've run out of typing time!
Hi
ReplyDeleteWaiting to see your terrain modelling process
Regards
Rafa